1. Initial setup
On this page: You create your first booking menu with the four steps of "Get started". You also check which locations take bookings and which timezone they use.
Get started
When you open the app and there are no bookable resources or booking menus yet, "Get started" appears. Answer four questions and click "Create my setup", and the app creates all of this at once:
- One bookable resource (a staff member or a place), with a capacity of 1
- Availability shifts on the days and hours you chose
- One booking menu
- A link to the product that takes bookings (a draft, if you have the app create it)
You can change all of it later. If you close the wizard with "Set up later", you can come back to it with "Set up everything with the wizard" on the home page, as long as you still have no bookable resources or booking menus.
Step 1: Choose a use case
Under "What will you take bookings for?", choose what the bookings are for. The menu name and duration in the next step are prefilled to match.
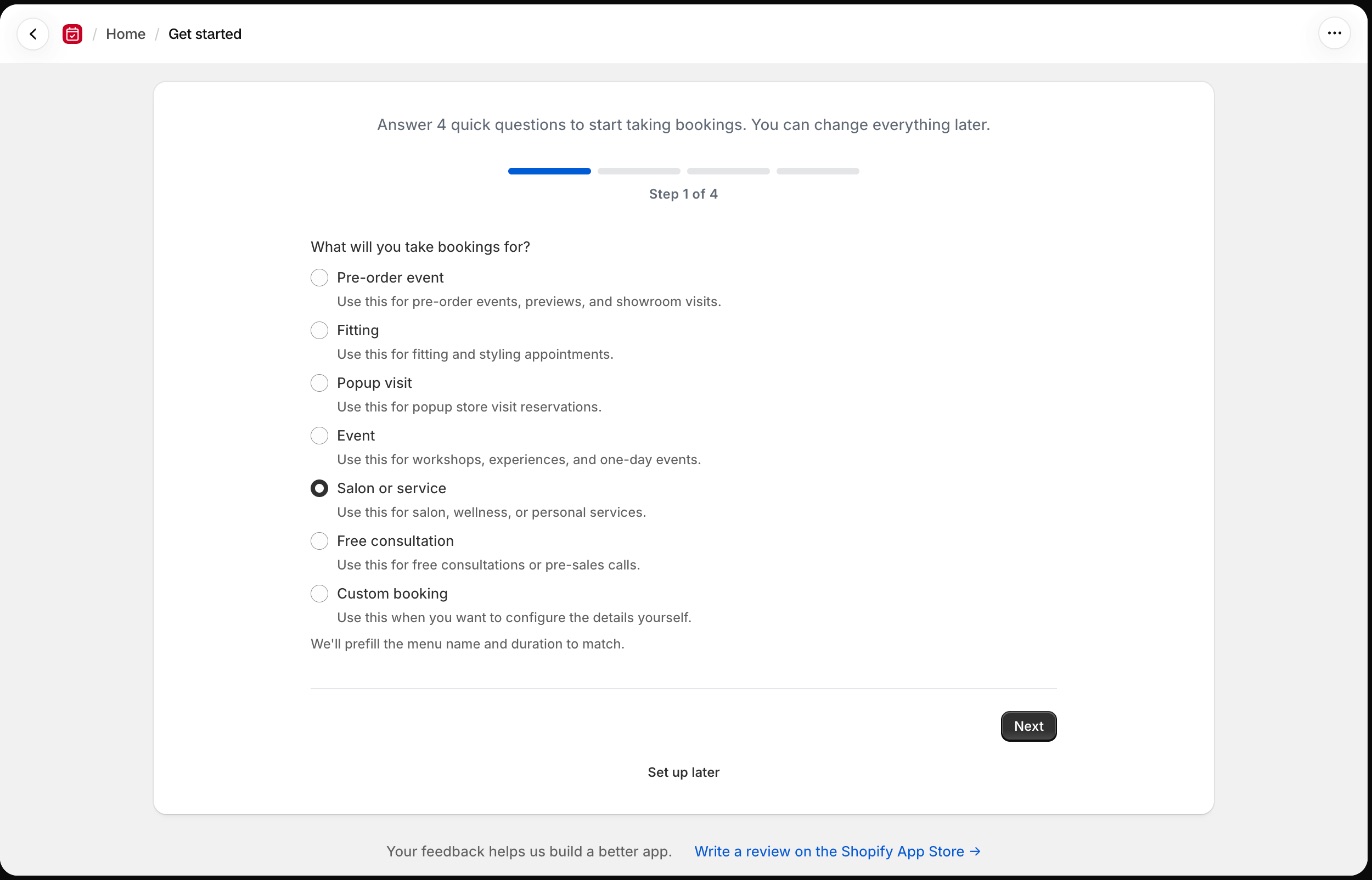
| Use case | Good for | Default duration |
|---|---|---|
| Pre-order event | Pre-order events, previews and showroom visits | 60 min |
| Fitting | Fitting and styling appointments | 60 min |
| Popup visit | Popup store visit reservations | 30 min |
| Event | Workshops, experiences and one-day events | 60 min |
| Salon or service | Salon, wellness or personal services | 60 min |
| Free consultation | Free consultations or pre-sales calls | 30 min |
| Custom booking | When you want to configure the details yourself | 60 min |
Step 2: Booking menu
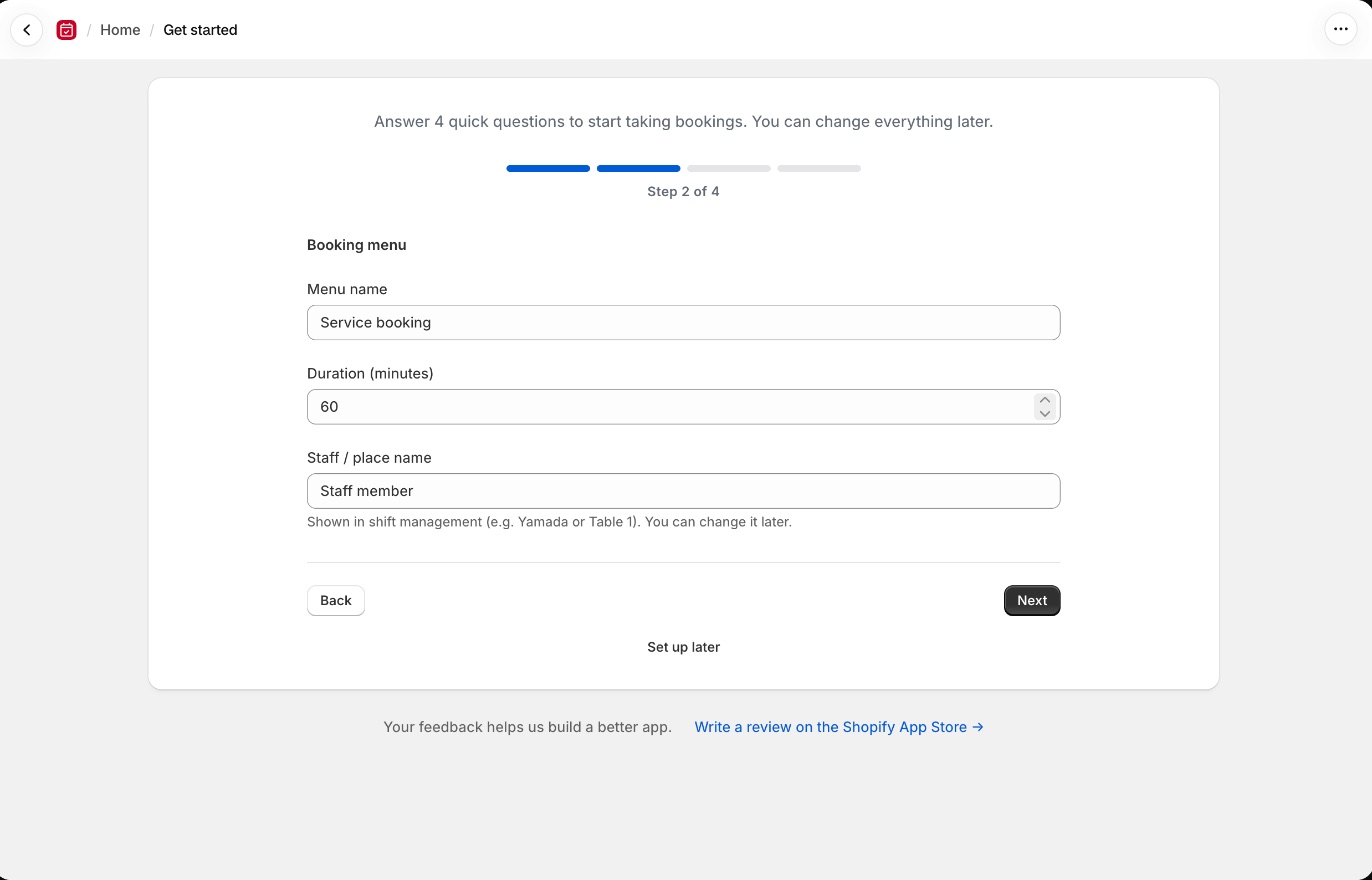
| Field | What it is |
|---|---|
| Menu name | The name of the booking menu. Required |
| Duration (minutes) | How long each booking takes. At least 1 minute |
| Staff / place name | The name of the bookable resource (for example, Yamada or Table 1). If you leave it empty, it becomes "Staff member" |
Step 3: Days and hours
Choose the days you take bookings, and set the "Start" and "End" times. These become the time slots customers can choose.
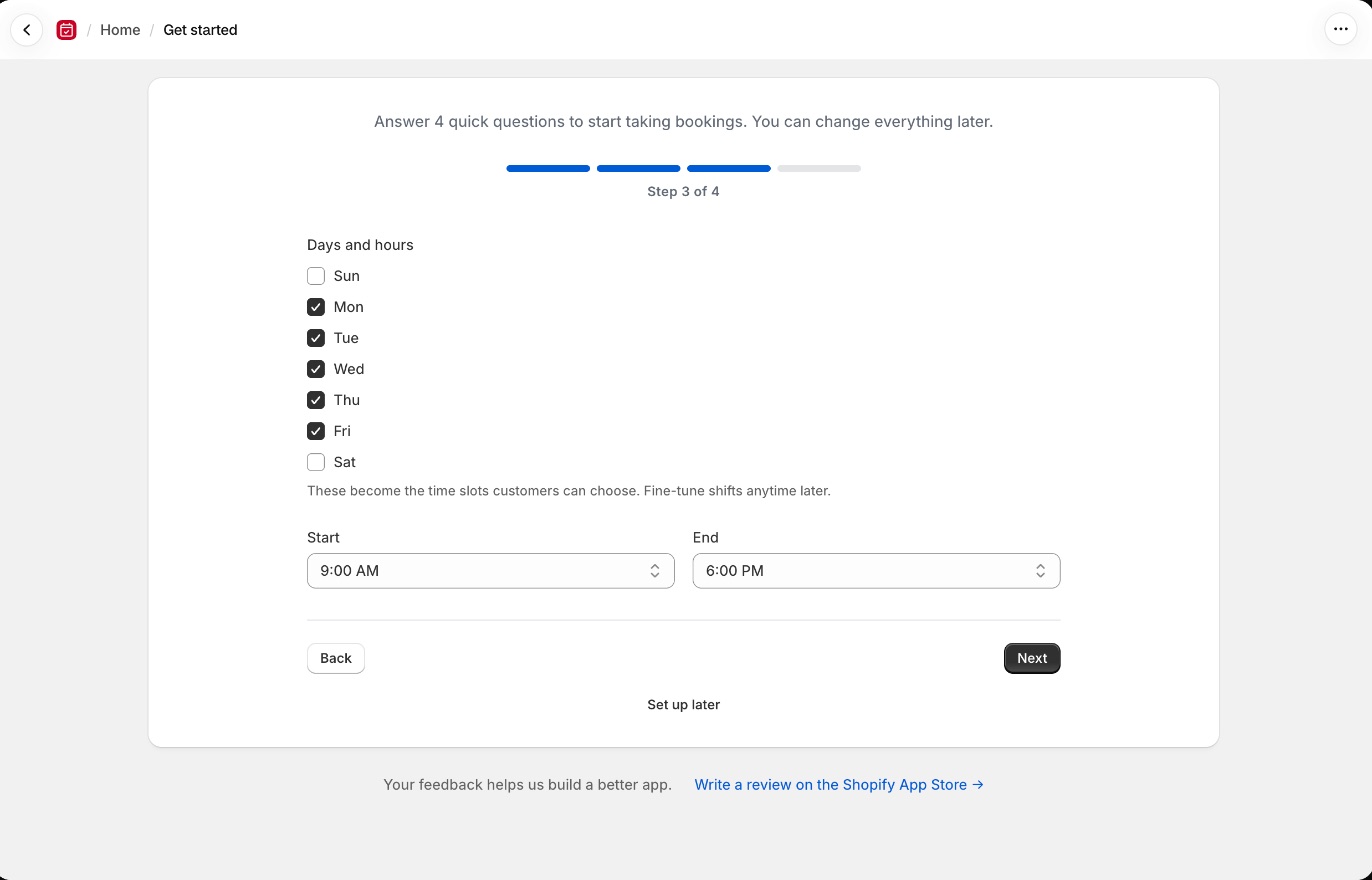
- Choose at least one day
- The end time must be after the start time
- If hours differ from day to day, or for days off, adjust the bookable resource's shifts later (2. Booking menus and resources)
Step 4: Product that takes bookings
Customers book from the page of the product you choose here. It's also the only product page where the booking calendar appears.
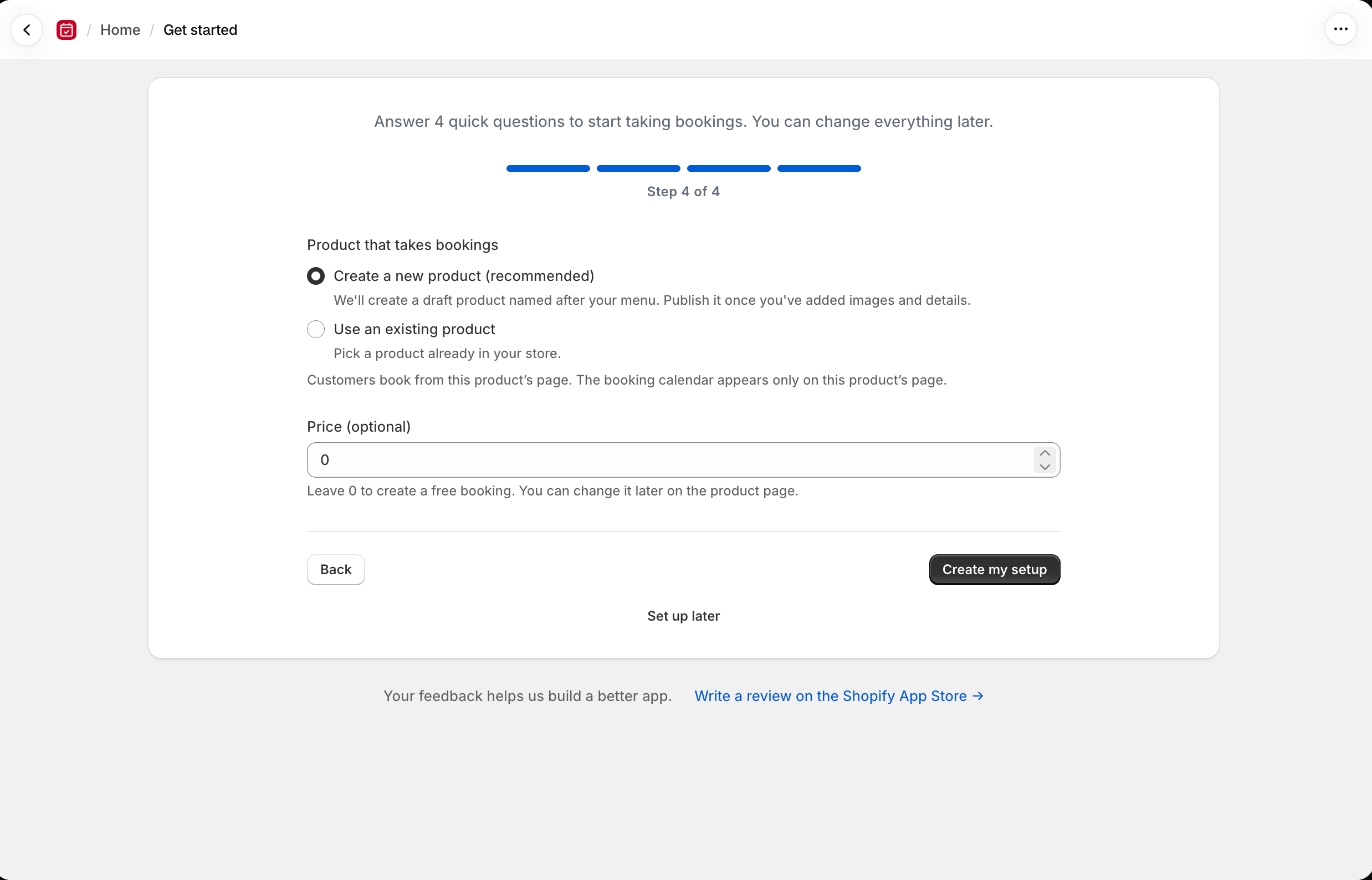
| Option | What happens |
|---|---|
| Create a new product (recommended) | The app creates a draft product named after your menu. Leave "Price (optional)" at 0 to make it a free booking. You can change the price later on the product page |
| Use an existing product | Click "Select product" and pick a product already in your store |
Finally, click "Create my setup".
The finish screen
When it's done, you'll see "Just place the calendar — you're almost live!" and a list of what was created. Click "Place it in the theme editor" to open the theme editor with your product in preview. The next steps are in 4. Add the calendar to your store.
A product created by the wizard starts as a draft
While it's a draft, the booking button shows a "sold out" message and nobody can book. On the product page in Shopify, add images and details, then set the status to "Active".
Locations that take bookings
Marutto Booking uses your Shopify locations as its stores. It loads them when you install the app, and picks up locations you add or change in Shopify.
If no locations show up, click "Load Locations" under "Store status" on the home page.
Choose the locations that take bookings on the "Stores & locations" tab in "Settings".
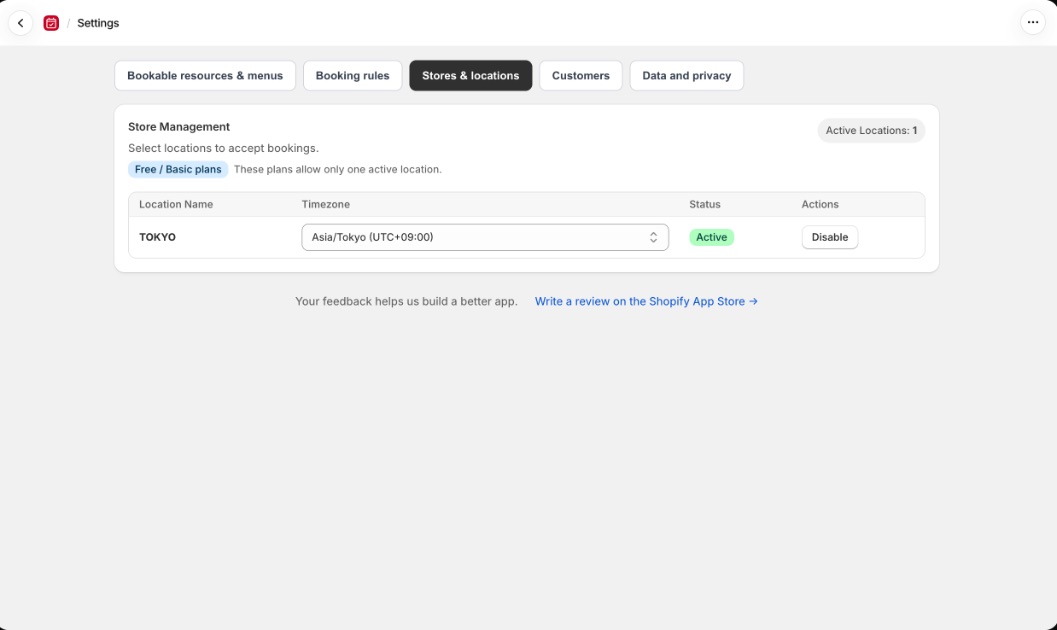
- Click "Enable" to take bookings at a location, and "Disable" to stop
- On Free and Basic, only one location can be active. Taking bookings at several locations requires Pro
- On Free and Basic, if you add a location in Shopify, the location already taking bookings stays active
- If you deactivate a location in Shopify, it stops taking bookings too. Reactivate it in Shopify and it takes bookings again — unless, on Free or Basic, you enabled a different location in the meantime
Timezone
Booking times and shifts use each location's timezone. By default this is your Shopify store's timezone. To use a different one for a location, choose it under "Timezone" on the "Stores & locations" tab.
If a location's timezone differs from your Shopify store's, you may see "Timezone confirmation required". Choose which one to use so booking times stay accurate.
| Button | Result |
|---|---|
| "Keep current timezone" | Keeps the timezone set on the location |
| "Use Shopify store timezone" | Switches to your Shopify store's timezone |
Online booking at that location is paused until you confirm
The home page also shows "Confirm your location timezones". On your store, customers see "Bookings are temporarily unavailable while this location's time settings are being verified."
What's next
- Set up bookable resources, shifts and booking menus: 2. Booking menus and resources
- Add the booking calendar to your store: 4. Add the calendar to your store